How The Right Mineral Blush & Bronzer Can Be Your Secret Beauty Weapon

The Egyptian queens Cleopatra and Nefertiti knew the secret to gracefully accentuate their royal cheekbones with ground ochre long before the early Greeks used mulberry juice and before the Romans used red vermillion (very toxic, by the way, so do not try that at home!).
The “natural blush” quest is as old as time, maybe because blushing is evolutionarily advantageous or psychologically appealing. Or maybe it’s because rosy cheeks and chiseled cheekbones are, well—beautiful. Simple as that.
Nothing portrays radiant health, elegance, and vitality more than the proper application of blush and bronzer. And the good news is that learning this proper application is simple and so much easier (and safer) than grinding ochre, mulberries, and vermillion.
Bronzer vs. Blush—What’s the Difference?
Blushes and bronzers differ in several key ways, including purpose, color, and method of application. You use blush to add rosy color, whereas you apply bronzer to create a sun-kissed glow or defined cheekbones. Blush products are infused with variations of pink, peach, and plum pigments. Bronzers are created with brown and gold pigments, which helps them create a suntanned look and create contrast and the appearance of depth and shadows. Blush is applied to the apples of cheeks, while the bronzer is used on the contours of the face, such as beneath the cheekbones and along the jawline.
Bronzer vs. Blush? Depends on Your Mood.
Use bronzer:
- When you want just subtle color and definition without going over the top
- For casual weekend outings (omit the contouring effect)
- To create a more contoured look for glam evening events or date nights
- When a sun-kissed, summer glow is appropriate (i.e., summer months or beach vacation)
- A matte bronzer (non-glitter) is perfect for a more contoured appearance
Use blush:
- When you want a softer look
- When you want a fresh-faced, healthy glow
- During fall and winter—perfect
The combination of bronzer and blush can create a wonderful look as well. Apply the blush first, focusing on the “apples of your cheeks.” When you smile, you can find the apples of your cheeks; they’re the prominent front parts of your cheeks. Next, apply the bronzer below the apples of the cheek, in the “hollow of the cheek” or the area underneath the cheekbone. Can’t find them? They will appear if you simply suck in your cheeks while pursing your lips. Read below for more application hints.
Cream, Baked, or Powder?
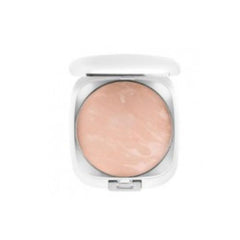
Chemists create powder blush with loose ingredients mixed with a binder. They make solid baked powder by literally baking creams under heat until they are dry. Chemists also use other drying methods, including ambient temperature, to dry the cream powder. Powders can range from matte to metallic or even marbled, all due to the baking process.
Because baked products don’t require the binding material, their colors tend to be more potent, making it easier to create dramatic effects. For totally natural blush products that are equally wonderful, choose high quality loose mineral powders to create a natural flush of color and a healthy, vital glow. Loose powders allow personal creativity as they can be easily mixed to achieve custom shades. Additional advantages are that because they lack water or chemical additives during formulation, loose mineral powders have an almost indefinite shelf life and are completely vegan.
If you have more oily skin, you might consider a powder blush as those will appear more matte on the skin than a cream. Cream products, and even baked powder products, to some extent, create a dewy look, so they’re great for drier skin.
Why Mineral Bronzer and Blush as Opposed to Conventional Makeup?
Mineral products create the type of natural glow that can only come from Mother Nature. High-quality 100 percent mineral products are good for your skin, offering moisturizing and sometimes even anti-oxidant effects.
The micro-fine minerals and vitamins create a smooth result because they aren’t heavy enough to settle into fine lines of the skin. Also, unlike conventional makeup, mineral blushes and bronzers are free from the chemicals and other skin-irritating additives that can clog pores or create acne breakouts.
Mineral makeup binds to oil as opposed to water like conventional makeup. This adherence combined with ingredients such as magnesium stearate creates a barrier against free radicals while still allowing the skin to breathe. The enhanced adhesion also translates into lasting color.
High-quality mineral blushes and bronzers also contain zinc oxide and Titanium Dioxide CI7791, which protect the skin from sun damage.
How to Apply Blush and Bronzer
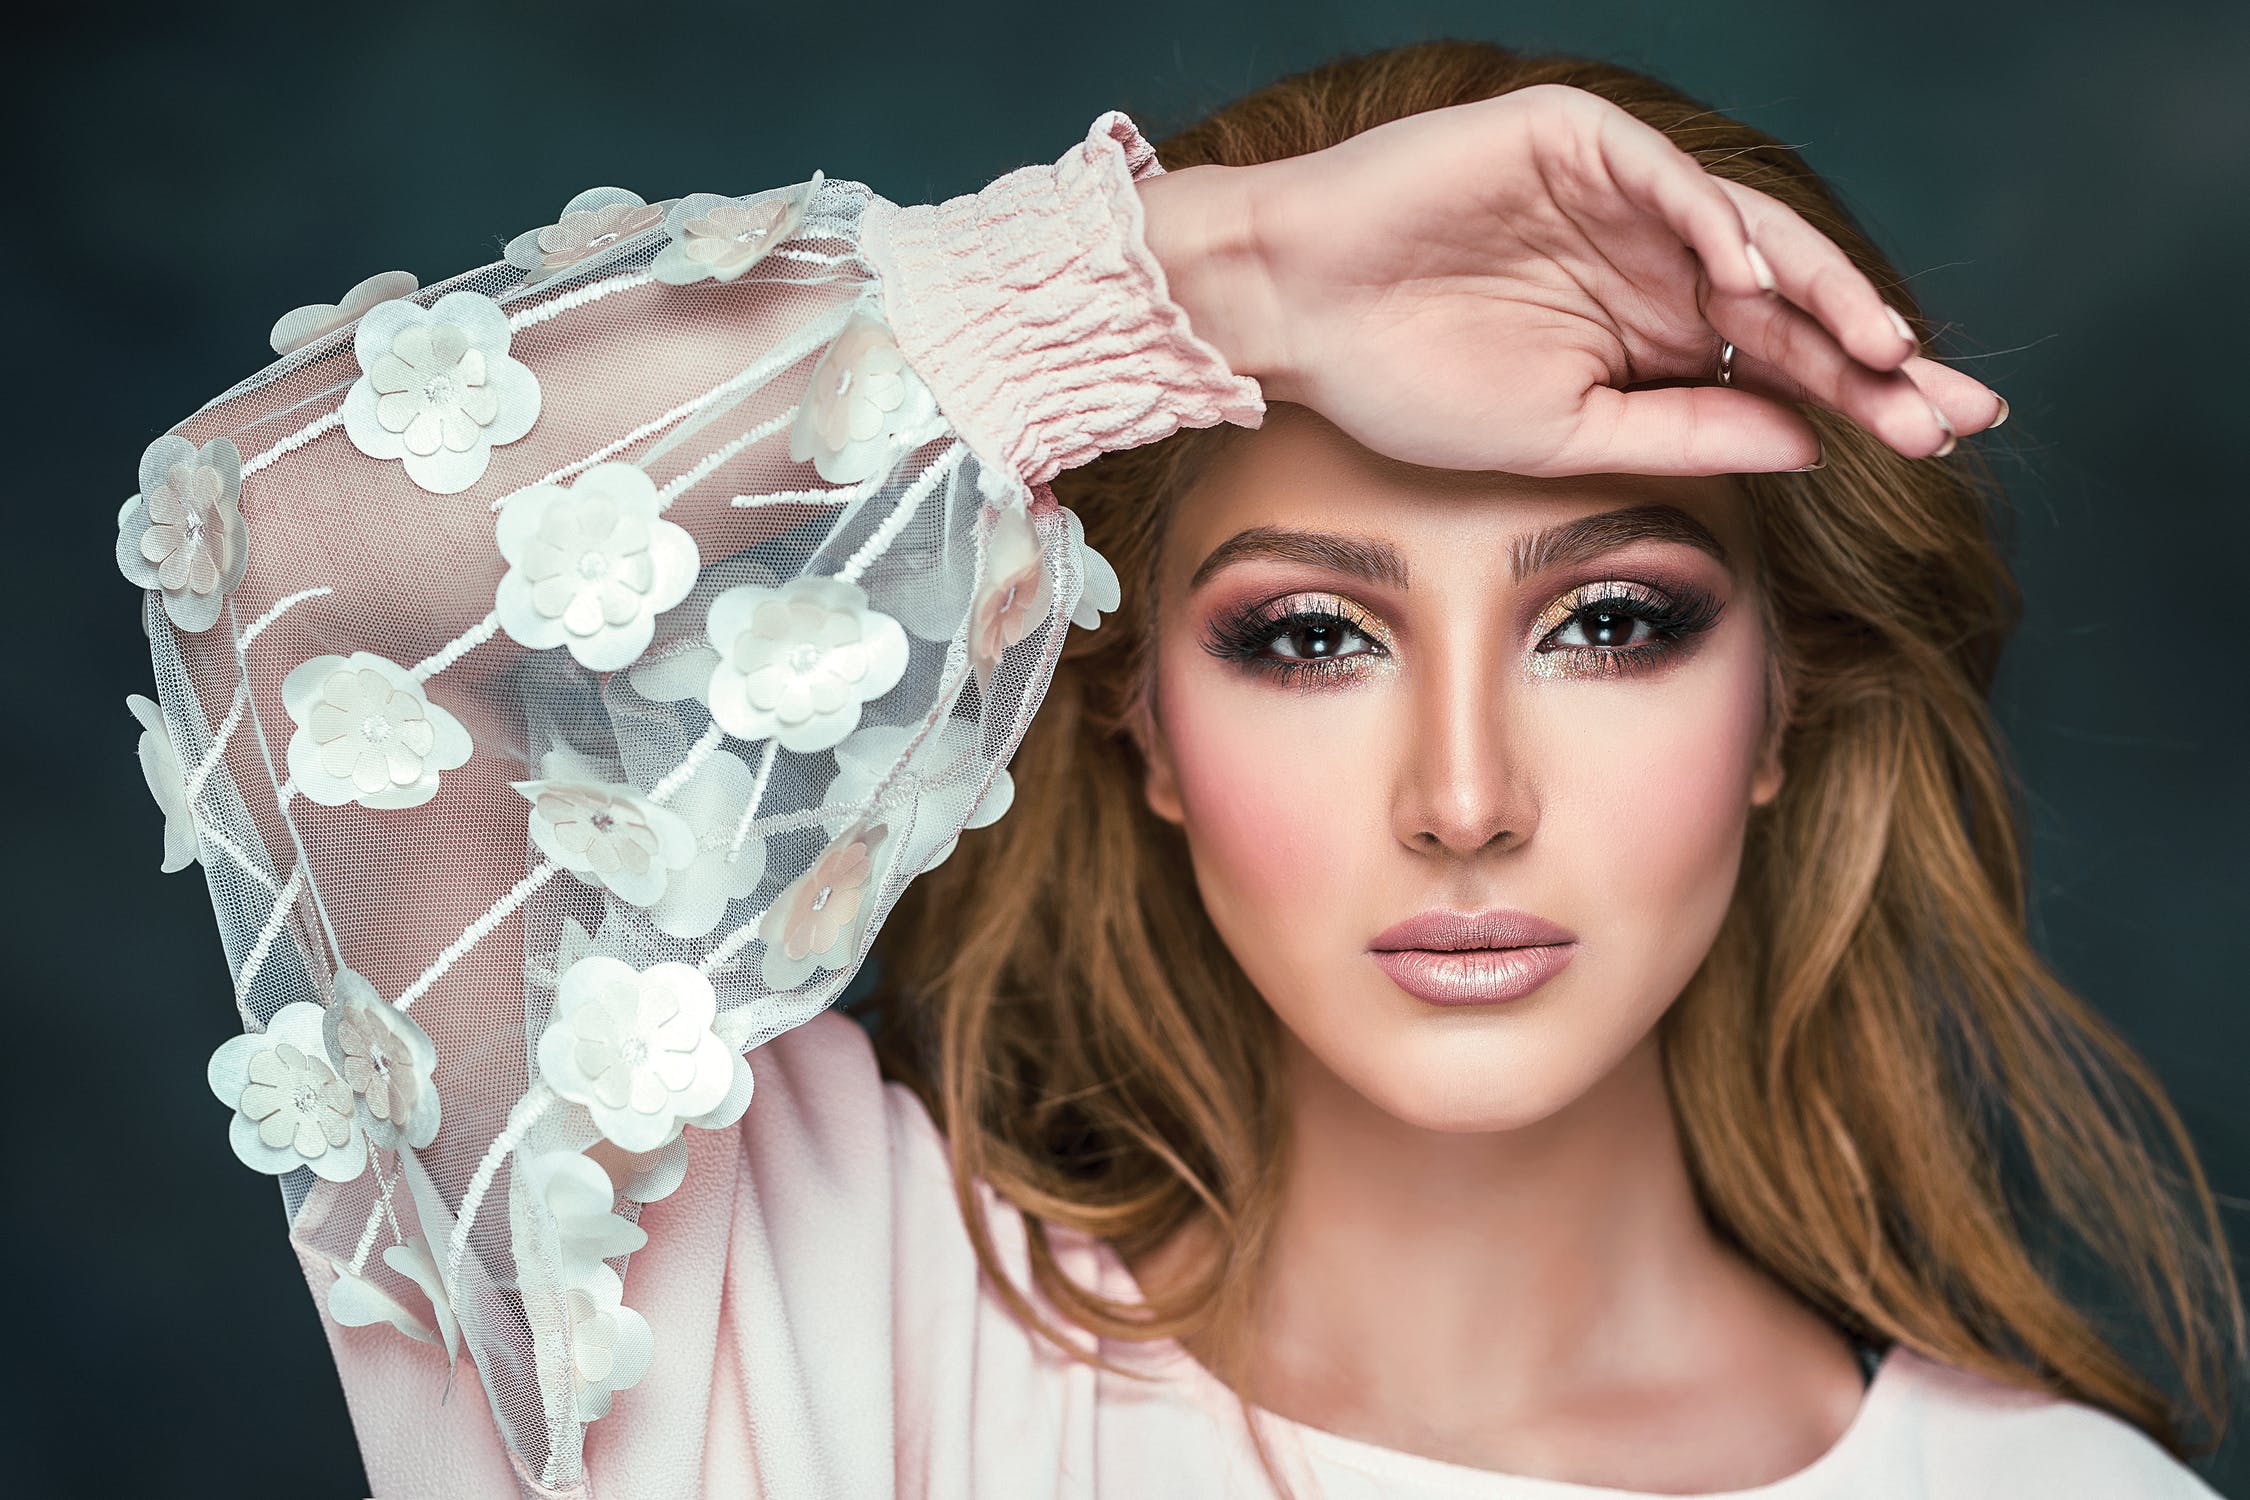
Remember, the goal of any type of makeup application is to enhance, not change. Blush and bronzer are the ultimate power tools in your makeup kit. You can achieve any look you want with just a few strokes: from glam to fresh healthy glow to fierce.
Can You Use Blush and Bronzer Together?
Of course! Using a blush and bronzer together can help to define and highlight the parts of your face that make you uniquely beautiful.
The Basics: Bronzer
How to Apply Bronzer
As with blush, you need to select the right brush to apply a bronzer properly. Pick a wide, fluffy powder brush for a smoother application. Just as with blush, press the bronzer into the powder, tap the handle, and blow on the tip of the blush oh-so-lightly. Now you’re ready to apply the bronzer to your face. Swirl the product below the cheekbones. You might even include the area below your hairline and along your jawline.
You can think of bronzer as the tool that allows you to leverage the element of contrast to make the lighter, sunnier parts of your face “pop,” which creates a stunning, gorgeous effect. When in doubt, go light and easy—you’ll still achieve a wonderful look. And remember, your bronzer should normally be two shades darker than your natural skin, but if you want more contrast, go darker.
Choosing the Right Bronzer for You
Bronzers are great on all skin tones. That’s what makes them so fun. Choosing the right color and tone of bronzer is based on a couple of things: your natural skin tone and your skin’s undertone.
How do you know the difference between your skin tone and its undertone?
Think of skin tone as the surface color of your skin. Are you fair, deep, or somewhere in between? Skin tone is fairly easy to determine, and it will likely change with sun exposure.
Your undertone is the cool, warm, or neutral hue that lies subtly underneath the surface. Undertones do not change with sun exposure; they remain constant.
- Skin that has pink, red, or blueish tints has cool undertones
- Skin tinged with yellow, peachy, or gold has warm undertones
- Skin with a mix of both of these has a neutral undertone.
Usually, you want your bronzer to be one or two shades darker than your natural skin tone. So if you have a fair skin tone, you’ll want to go two shades deeper. Matching the undertone is a little more tricky. Generally, these rules apply:
- Cool undertones do best with beige, soft brown, or taupe.
- Warm undertones do best with any warm, golden-brown shade; gold is key here.
- Neutral undertones should avoid any yellows and opt instead for natural brown-based shades.
The Basics: Blush
Given that the tradition of coloring our cheeks with something rosy has been around for centuries, the trend is unlikely to fade away. Knowing how to apply blush properly is a staple of makeup application.
How to Apply Blush
First, be sure to use the correct brush. You want to use a blush brush to apply powder blush, which is smaller than a powder brush. Its defining feature is its dome shape crafted with soft bristles.
There are different blush brushes, and the type you use depends on the look you wish to create. Larger brushes will create a light, wider wash of color on the apples of the cheekbones. A smaller brush is easier to use if you want to apply the blush more to your cheekbones than the apples and you want more intensity of color. It’s always easier to add color than it is to wipe it off, so you should be more conservative when selecting the size of your brush.
Now, for the application. First, correctly collect the powder onto the brush by lightly pressing the blush brush into the powder. Next, gently tap the brush’s handle to remove any excess powder, then blow on it very lightly to remove any remaining loose microfibers. Apply the brush to your cheeks in two simple strokes: the first is a gentle top-to-bottom stroke on the apple of the cheek, and the second is a straight stroke along the line of the direction of the cheekbone.
Choosing The Right Blush For You
A very effective, albeit unconventional, method for detecting your perfect shade is to pull down the inside of your bottom lip. Here you’ll find your perfect, natural, made-just-for-you blush color.
- Darker skin tones do well with brighter blushes.
- Lighter skin tones do well with muted shades that are closer to their skin tone.
Use Blush and Bronzer to Achieve the Look You Want
Sculpted Look
Many people ask, “Can I use bronzer to contour?” The answer is absolutely! Even better, you can use your bronzer and blush in combination to create a sculpted look that has a softer edge than using the bronzer alone. Use the bronzer to make the flattering dips and concave parts of your face recede even more, which will bring the lighter areas of your face more to the forefront. The result is a stunning look that will have heads turning to get a closer glimpse at your interesting and beautiful face.
Rosy Flush Look
Use blush to create a rosy flush. After applying the blush to the apple of the cheeks, go a couple of steps further and apply the blush to your hairline and jawline (exactly like you would if you were contouring with a bronzer). You can even apply a gentle sweep down the middle of your nose for extra effect. You’ll be that lively-looking goddess at the party that lights up any room you walk into.
Sunkissed-Glow Look
If it’s the middle of February, and you are just so over your pale skin, pull out your bronzer and get to work. A couple of simple strokes and dabs will bring you that lighthearted, sunkissed glow you want. Use striping to achieve this bronzed-all-over look. This time, instead of applying the bronzer to the dips and concave hollows of your face, you will apply “stripes” to the high planes of your face: hairline, cheekbones, and jaw bone. Add a little extra dusting to your neck and collarbone to create a smooth and cohesive “I-just-came-from-the-beach” look.
Hopefully, blushes and bronzers aren’t so overwhelming now that you know the basics and then some. They’re incredibly poignant tools that enhance your natural look. And always remember, the joy of makeup is that it's not permanent! If you mess up, that’s ok!
So, play around with different looks, shades, tones and colors until you find that perfect look that is so uniquely, wonderfully, and beautifully you. We’re here to help you with your mineral bronzer and blush needs at any time. Contact us today.
Leave a comment
Comments will be approved before showing up.
Also in Abbey St Clare Blog

The Wheel is Turning. Abbey St. Clare has Closed.
Hello Friends,
The wheel is turning. Transitions are on the horizon. It is with regret that after almost twenty years, Abbey St. Clare is winding down as retirement and a relocation take place in the near future. We will continue taking orders through September 15.

Fix These 5 Hair-Washing Mistakes For Healthier Hair
Is your hair feeling brittle? Scalp dry? Locks not as lustrous as you want them to be? It’s possible you’re damaging your hair with five hair-washing mistakes.
If you follow these guidelines, you will see significant improvement in your hair and scalp health.

Pamper Your Skin and Elevate Your Mood With Essential Oils
Have you ever caught a whiff of cinnamon and felt a boost in your mood instantly? Do you feel calmer and more at ease when using lavender lotion before bed? If you said yes, it’s not just a figment of your imagination!
Ask anybody who uses essential oils regularly, and they’ll probably agree: these natural botanicals can have powerful, positive effects on your mood and overall wellness.


